用最清晰简洁的方法整合一个响应式相册
效果
技术选型
相册文件夹 按照Hexo官方给的建议
资源(Asset)代表 source 文件夹中除了文章以外的所有文件,例如图片、CSS、JS 文件等。比方说,如果你的Hexo项目中只有少量图片,那最简单的方法就是将它们放在 source/images 文件夹中。然后通过类似于  的方法访问它们。post_asset_folder 选项设为 true 来打开。
然后就可以在文件夹source下新建一个相册文件夹Images,将照片放入这个文件夹
相册页面 我们需要一个相册页面以加载所有照片
1
2
3
4
5
6
7
8
9
10
11
12
--- title: 相册 noDate: 'true' --- <script src ="https://cdn.bootcss.com/jquery_lazyload/1.9.7/jquery.lazyload.js" > </script > <script src ="https://unpkg.com/minigrid@3.1.1/dist/minigrid.min.js" > </script > <div class ="ImageGrid" > </div > <script src ="/js/photo.js" > </script >
这里使用noDate来自定义一些HTML数据,加载一些JS文件(minigrid在bootcss中还是1.*的版本,只好使用它推荐的cdn了),其中photo.js是自定义的,用来加载照片,稍后提到。
脚本 大家可以集思广益,使用别的方式。(毕竟我不是专业的前端)tool.js:
1
2
3
4
5
6
7
8
9
10
11
12
13
14
15
16
17
18
19
20
21
22
23
24
25
26
27
28
29
30
31
32
33
34
35
36
37
38
39
40
41
42
43
44
45
46
47
48
49
50
51
52
53
54
"use strict" ;const fs = require ("fs" );const sizeOf = require ('image-size' );const path = "./source/Images" ;const outputfile = "./source/Images/output.json" ;var dimensions;let arr = [];function tryToSave ( arr = JSON .stringify (arr, null , "\t" ) fs.writeFile (outputfile, arr, e => if (e) console .log (e); else console .log ("SAVE OVER" ); }) } function tryToReadDir ( fs.readdir (path, (err, files ) => { if (err) return ; files.forEach ((fileName ) => { fs.stat (path + "/" + fileName, function (err, stats ) { if (err) return ; if (stats.isFile ()) { dimensions = sizeOf (path + "/" + fileName); arr.push (dimensions.width + '.' + dimensions.height + ' ' + fileName); count (); } }) }) var countNum = 0 ; var count = function ( countNum++; if (countNum === files.length ) { tryToSave (); } } }); } fs.exists (outputfile, function (exists ) { if (exists) fs.unlink (outputfile, e => console .log ("remove file done!!! exception: " + e) tryToReadDir (); }) else tryToReadDir (); });
每次在相册中更新照片后都要在控制台node tool.js一下,以便更新数据。output.json样式类似于:
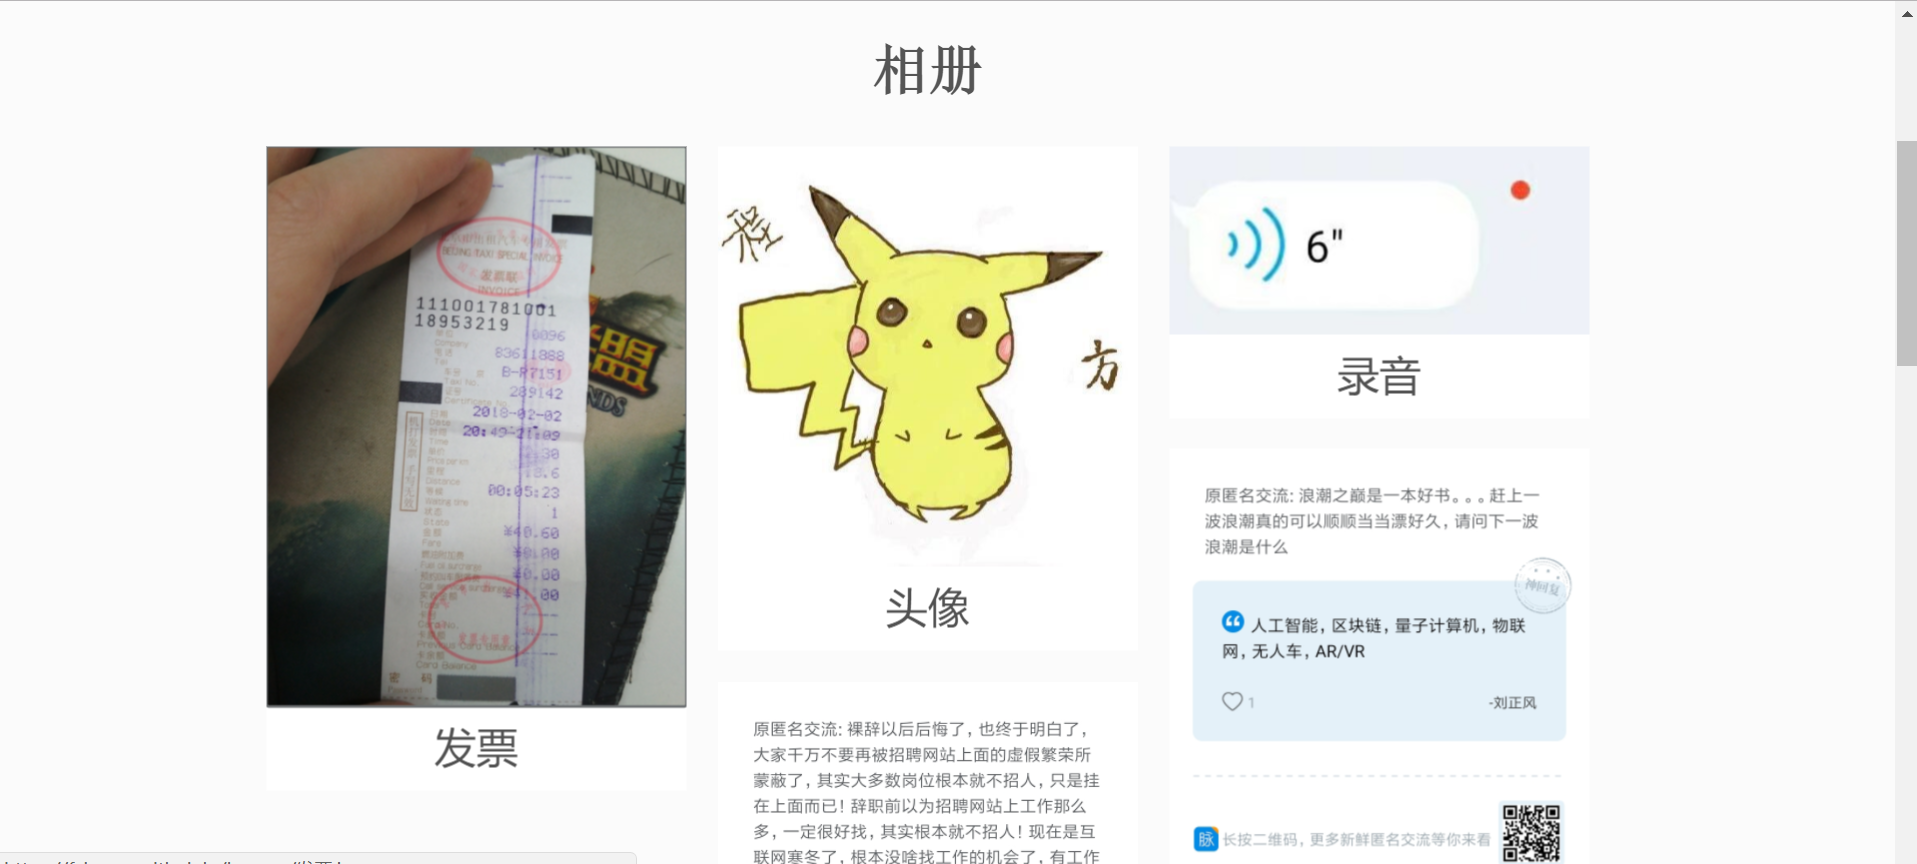
1
2
3
4
5
6
7
[ "3120.4160 发票.jpg" , "516.516 头像.jpg" , "402.180 录音.jpeg" , "720.758 截图1.jpg" , "720.978 截图2.jpg" ]
photo.js 1 2 3 4 5 6 7 8 9 10 11 12 13 14 15 16 17 18 19 20 21 22 23 24 25 26 27 28 29 30 31 32 33 34 35 36 37 38 39 40 41 42 43 44 45 46 47 48 49 photo ={ page : 1 , offset : 20 , init : function ( var that = this ; $.getJSON ("/photo/output.json" , function (data ) { that.render (that.page , data); }); }, render : function (page, data ) { var begin = (page - 1 ) * this .offset ; var end = page * this .offset ; if (begin >= data.length ) return ; var html, li = "" ; for (var i = begin; i < end && i < data.length ; i++) { li += '<div class="card">' + '<div class="ImageInCard">' + '<a data-fancybox="gallery" href="/Images/' + data[i] + '">' + '<img src="/Images/' + data[i] + '"/>' + '</a>' + '</div>' + '<div class="TextInCard">' +data[i].split ('.' )[0 ]+'</div>' + '</div>' } $(".ImageGrid" ).append (li); $(".ImageGrid" ).lazyload (); this .minigrid (); }, minigrid : function ( var grid = new Minigrid ({ container : '.ImageGrid' , item : '.card' , gutter : 12 }); grid.mount (); $(window ).resize (function ( grid.mount (); }); } } photo.init ();
js文件也可以放在Images文件夹下,只需要将相册页面加载的<script src="/js/photo.js"></script>改成<script src="/Images/photo.js"></script>即可。
css 这个样式是我自己写的,大家可以按照自己的想法自行更改:
1
2
3
4
5
.ImageGrid {width : 100% ;max-width : 1040px ;margin : 0 auto; text-align : center;}.card {overflow : hidden;transition : .3s ease-in-out; border-radius : 8px ; background-color : #ddd ;}.ImageInCard {}.ImageInCard img {padding : 0 0 0 0 ;}.TextInCard {line-height : 54px ; background-color : #ffffff ; font-size : 24px ;}
自动构建 我是使用过travis-ci 自动构建的。(用过以后表示很鸡肋)travis.yml中的script或者before_script,添加一句node tool.js,就可以将相册脚本也加入自动构建(需要注意的是必须在hexo g前执行):
1
2
3
script : - node tool.js - hexo g